Exporting Static Sites From Tiddlywiki
Part 6: Strategies for Including Images
Part: 0 1 2 3 4 5 6 7 8 9 10
Summary
In the previous section, we saw how to make our links and urls "web safe" by transforming them into "kebab case".
In this section, we're going to look at the various different strategies that we can use for including images in our sites and the pros and cons of each.
Inline Images
If you're playing along at home, you should add a (smallish) image or two to your wiki, so that you can see the results we're talking about here, otherwise you can open this link in a new tab to see an example of a page with an image inlined into it.
As you can see, If we just add images to our Tiddlywiki as we might usually do when using it, something interesting but undesirable happens to our static pages.
Instead of getting exported into a file of it's own and linked to, the image gets inlined into to page itself as code (a "base64" uri). Whilst this might be ok for very small images, it's absolutely not ok for normal web graphics.
Small Images?
One way to mitigate the problem would be to use smaller images but of course smaller image files generally means lower quality, which probably isn't what you want.
One possible exception to this is SVGs which can be very small indeed and look just as good at any size. SVGs offer lots of interesting possibilities and deserve to be explored as an "artistic medium" but they're not a practical solution to most people's image hosting needs.
If you're interested in the results, all of the logos on our About page are inline SVGs, which you can see if you inspect the source of that page.
Embedding an Image From Elsewhere
A more obvious solution is to use images that are already served from somewhere else and never include them directly in your wiki at all.
Embedding images from elsewhere on the web is, of course, very easy.
<img width="90%" src="https://upload.wikimedia.org/wikipedia/commons/8/8b/Babbage_Difference_Engine.jpg">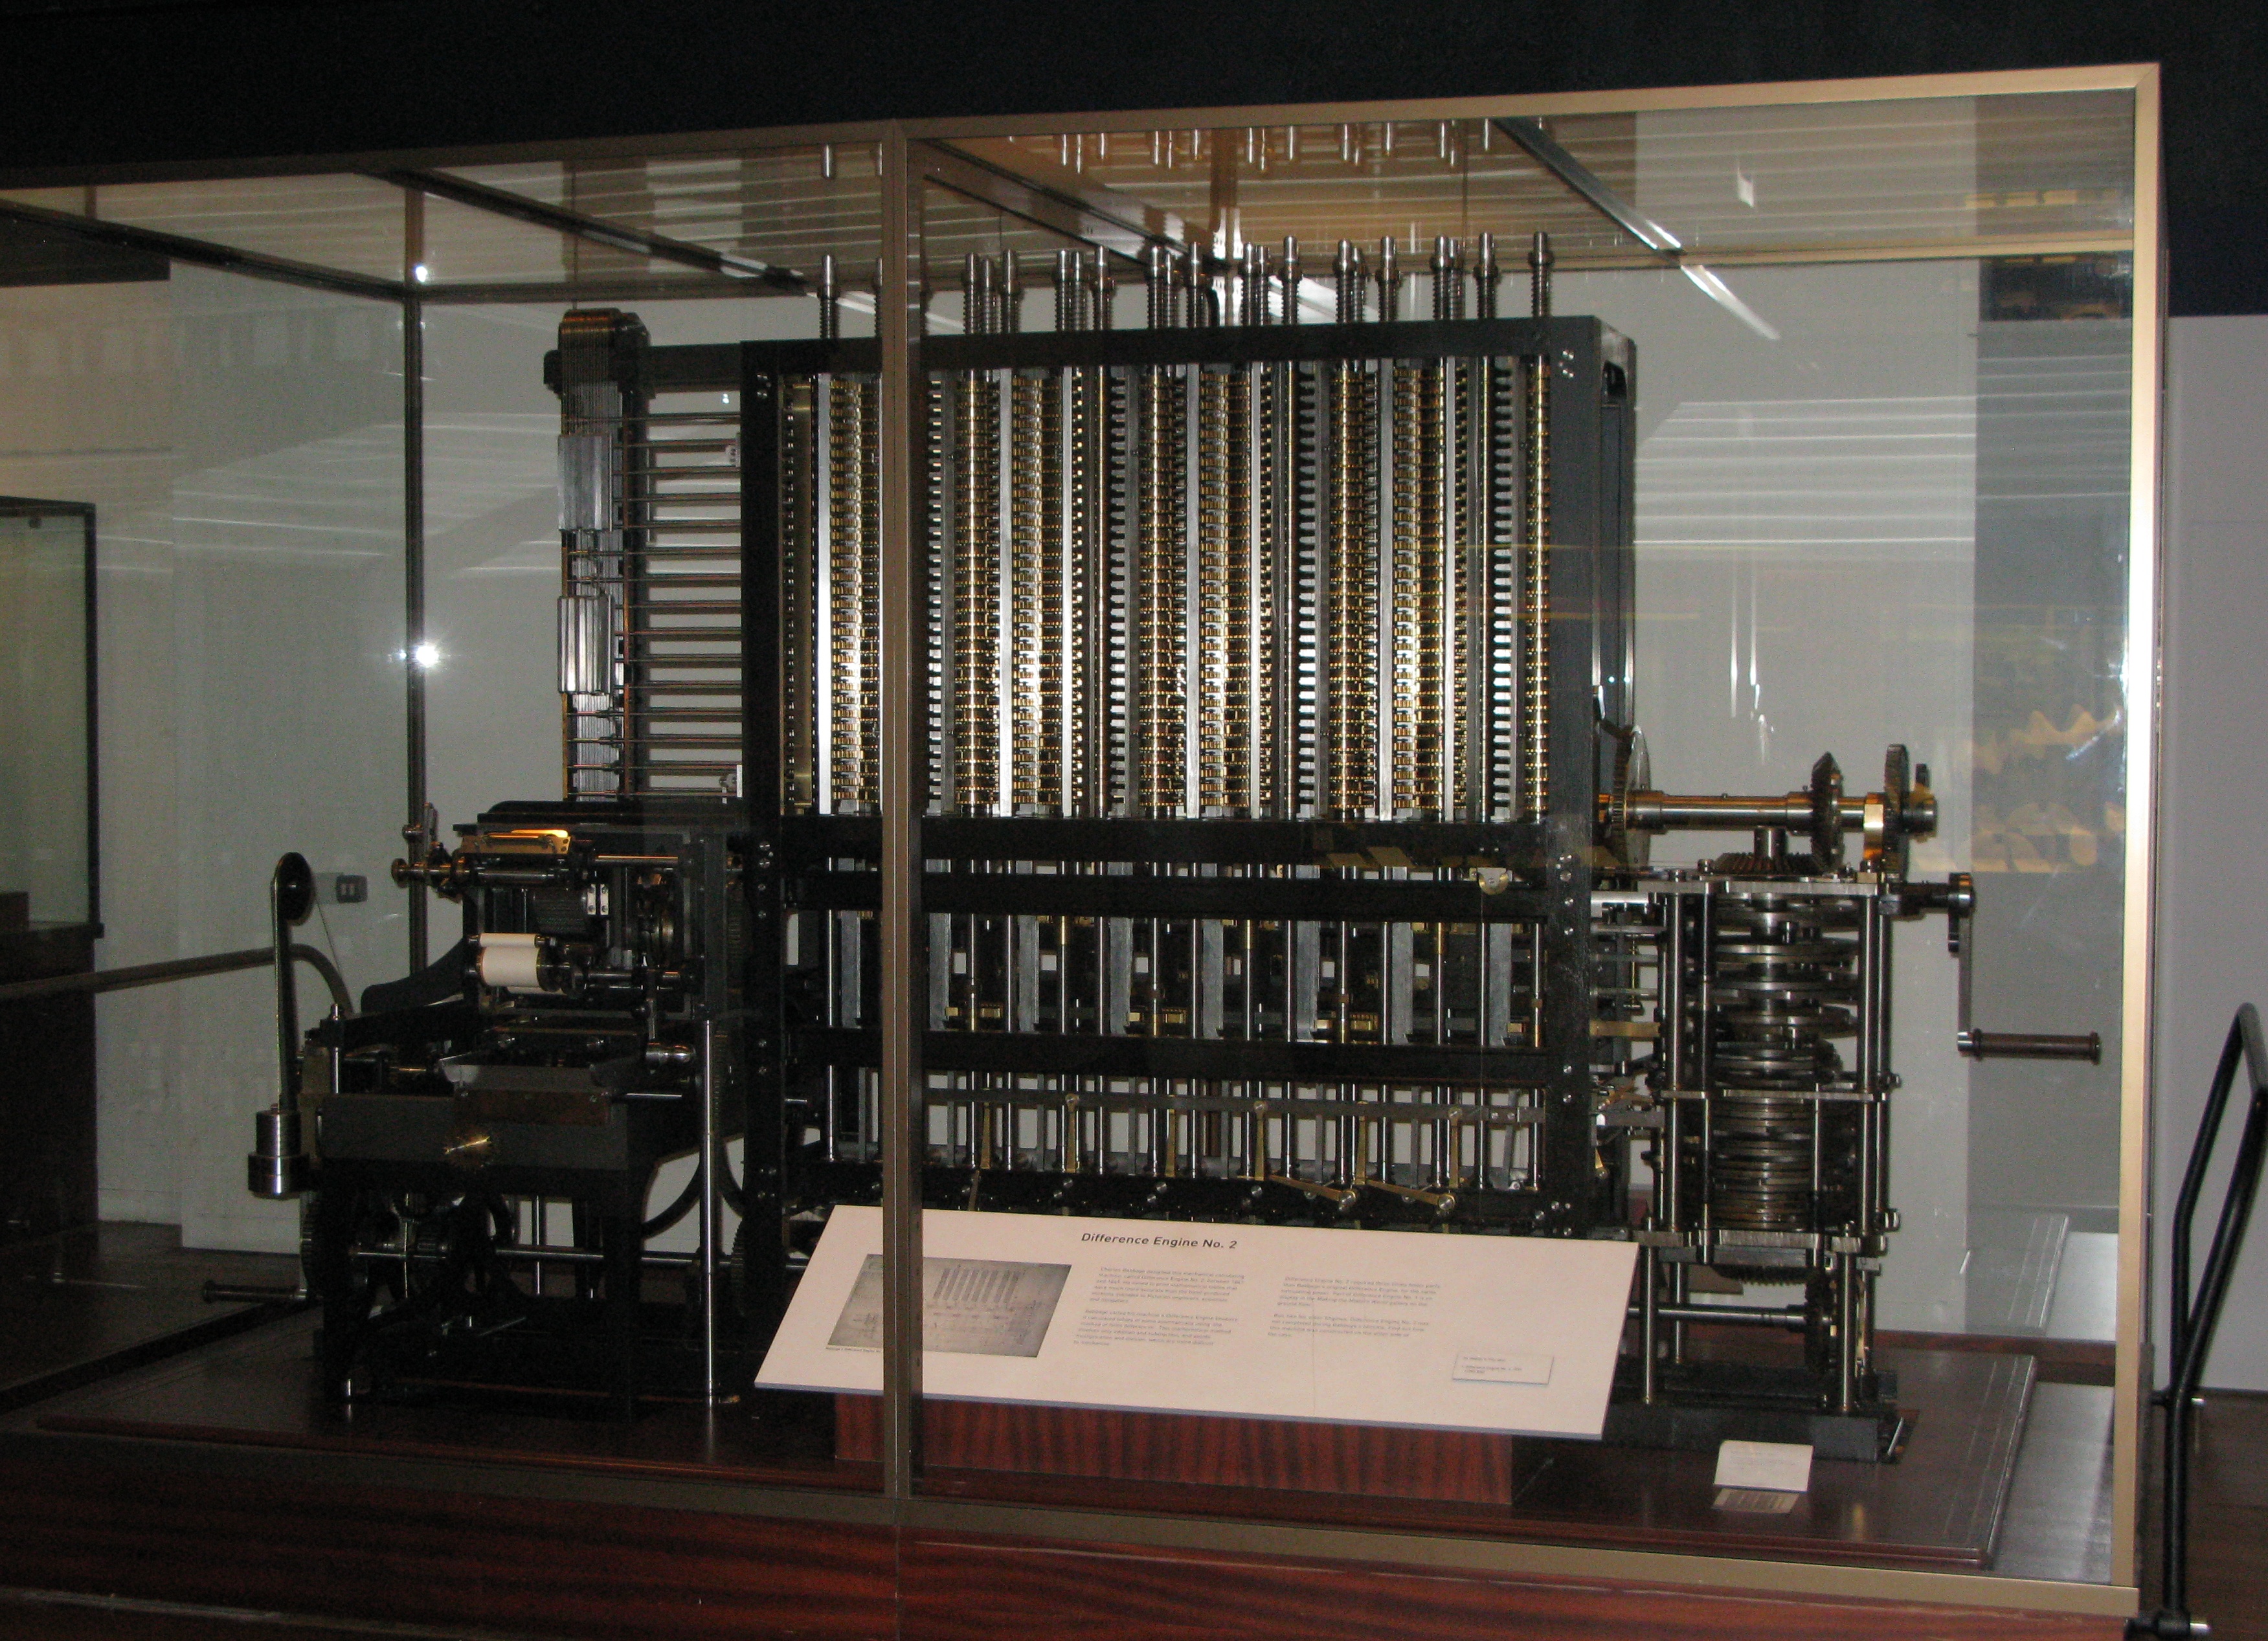
Serving Your Own Images and Embedding Them
Of course, by extension, you can also host your own images somewhere and then link to those in the same way. The only difficult thing, then, is choosing a host; you need one that allows you to "hotlink" to your images (embed them) and there are lots to choose from. Some are free and some are very expensive and the terms of use will vary.
Linking to them then is as simple as copying the URL of each one and including it as the src of an img tag (either directly or using the <$image> widget) but a better way to do it is to use a macro for your images, like so.
<<extimg "https://didaxy.neocities.org/images/noah2.png">>where, to begin with, the macro can be as simple as
\define extimg(url)
<img  class="article-image" src="$url$"/>
\end
producing this result.

The reason for using a macro like this is that, if you want to change the formatting of your images subsequently, you only need to do it in one place.
Managing Images in Tiddlywiki
The disadvantage of simple hosting your images somewhere else and linking to them is that you can no longer use Tiddlywiki to manage them in any way.
Ideally we'd like a combination of the two approaches outlined above. We'd like to manage the images as tiddlers, but instead of getting inlined into our static pages, we'd like them to point to copies being served from elsewhere.
It turns out, in fact, that even used as a regular wiki, if you put too many images into Tiddlywiki it will start to slow down so if you plan to build a big project, at some point you'll need to 'externalise' your images anyway.
We shouldn't be surprised, at this stage, to learn that Tiddlywiki already has a mechanism for dealing with this. If you're not familiar with it, you can read the documentation for this feature here: http://tiddlywiki.com/#ExternalImages.
The _canonical_uri field
Basically, we can create an image tiddler as we normally would, by importing or whatever other method.
But then we set the _canonical_uri field of the tiddler and, instead of loading it's own content, it loads the content from that uri.
Once the _canonical_uri has been set correctly, the body of the tiddler can be deleted to free up the space it takes within the wiki (We don't strictly need to do this part to have the desired effect on our static pages - the _canonical_uri field is given precedence when it exists)
If you want to externalise your images using the command line tools, you should follow the instructions in the documentation linked above but we also built a tool that can help you to do this.
Image Externaliser Plugin
We made a plugin that can help you to manage the 'root' of the _canonical_uri field for all of your tiddlers, as well as providing a graphical interface for exporting the images and keeping track of which ones have and haven't been exported. It is available from this wiki.
This graphical interface is limited in terms of performing some bulk operations. In particular it can only export one of the images at a time.
It does, however, fit in better with a workflow in which you are consistently adding new content over time and so managing a steady flow of new resources.
The plugin aims to provide a graphical interface for the steps outlines in the Tiddlywiki documentation and crucially allows you to check that the _canonical_uri field is pointing to a live image before deleting the body of the tiddler.
Once an image tiddler is "fully external" you can still change the relative path of all your images to some/new/url meaning you can develop locally with your images on a simple http server and then copy them to your host of choice, provided they remain in the same relationship and can still be referred to by the scheme "some/new/url/" + filename.ext.
You can lock individual tiddlers to prevent them getting re-directed when you change the root.
Best Publishing Pipeline?
One way to manage images efficiently when you know that they're going to end up online is to put them there straight away, alongside your other images and then create a matching tiddler with the right value for its _canonical_uri.
That way you avoid the rigmarole of importing images into Tiddlywiki only to then set the _canonical_uri and then deleting their body.
Ultimately you'll need to figure out what method works best for you, as it will depend on what
Developing Locally
If you want to externalise the images from your wiki but, for whatever reason, you don't want to host them on the internet, you can host them yourself locally.
One easy way to do this, if you are following the instructions in this tutorial, is to move the http-server up a level (to the output directory) and put another folder in there called images from which you can serve them. Then the static site will be served from 127.0.0.1:8080/static/ and your images from 127.0.0.1:8080/images/.
You can then set the _canonical_root on all of your images, using the image externaliser console, to point to these images being served from the local server.
If you later want to serve them online, or from a different local address, you can again change all of their canonical uris at once, using the console.
A Word Of Warning (especially when Using Git)
(Note: I suspect that there might be a way to make sure that the static site generator doesn't allow inlined images at all, and I'll update this when I get a chance to do some research.)
(For now) you need to make sure you don't accidentally leave any inlined images. The giveaway will be unusually huge html files in your output.
If you're deploying your static site to a host manually, by a web interface eg; Neocities or by ftp, you should keep an eye on the size of your html files, ensuring there are no big ones.
Of course, if you find one, you can just delete it and fix the issue using the methods outlined above.
If you decide to use Git as part of your deploy pipeline however, as we will detail for deployment to Github and Netlify, you need to be especially vigilant,
If you accidentally commit images to a Git repository, whether they're embedded or not, it will quickly balloon in size.
Not only that but, because Git is supposed to remember the state of your project at all points in time, even if you take the images out again, the repo won't get any smalller.
If you do accidentally commit big resources there are ways to excise them from the history, but it's quite tricky and you may be better off starting a new repo and losing the history altogether.
Adding a favicon
Every web designers favourite image is the favicon and including one is simple.
The easiest way to manage it is to import a suitably sized PNG file to use - 32 x 32 pixels works well.
Because we want to export this image without doing anything to it, we can just use a --savetiddler command (add it to our bash file), putting the .png file where we want it - and we add a matching link to it from the HTML template.
Adding Video
It's somewhat interesting to note that when it comes to video, the choices are actually a lot easier than they are for still images.
You could put the video on your own server. If you had a real need to play video that wasn't branded by one of the big platforms, you could host it yourself on a cdn. In practise, the only use for that in the case of most websites would be a video that you wanted to play at full screen behind your page. It's not difficult, but unless you know what you're doing and you're prepared for the potential added expense, you'll be like 99.9% of other people and upload your video to a platform.
Which means you'll probably choose either Youtube or Vimeo. Either way, once the video is processed, just get the 'embed' code and paste it right into the tiddler, like so...
At Youtube
<iframe width="560" height="315" src="https://www.youtube.com/embed/nORSaCa71bM" frameborder="0" allowfullscreen></iframe>At Vimeo
<iframe src="https://player.vimeo.com/video/229389184" width="640" height="360" frameborder="0" webkitallowfullscreen mozallowfullscreen allowfullscreen></iframe> <p><a href="https://vimeo.com/229389184">install tiddlywiki</a> from <a href="https://vimeo.com/user69910735">Didaxy.com</a> on <a href="https://vimeo.com">Vimeo</a>.</p>
install tiddlywiki from Didaxy.com on Vimeo.
Using Macros
By using macros, like we did for images, we can customise the way videos look throughout the site, now and in the future.
\define youtube($id$)
<iframe width="560" height="315" src="https://www.youtube.com/embed/$id$" frameborder="0" allowfullscreen></iframe>
\end

\define vimeo($id$)
<iframe src="https://player.vimeo.com/video/$id$" width="640" height="360" frameborder="0" webkitallowfullscreen mozallowfullscreen allowfullscreen></iframe> <p><a
\end
The id just being the unique part of the url from each service. The videos above have the id nORSaCa71bM and 229389184 respectively and can this be embedded like so.
<<youtube nORSaCa71bM>>
<<vimeo 229389184>>